Follow these simple instructions to collect your blood sample at home. The entire process takes less than 10 minutes.
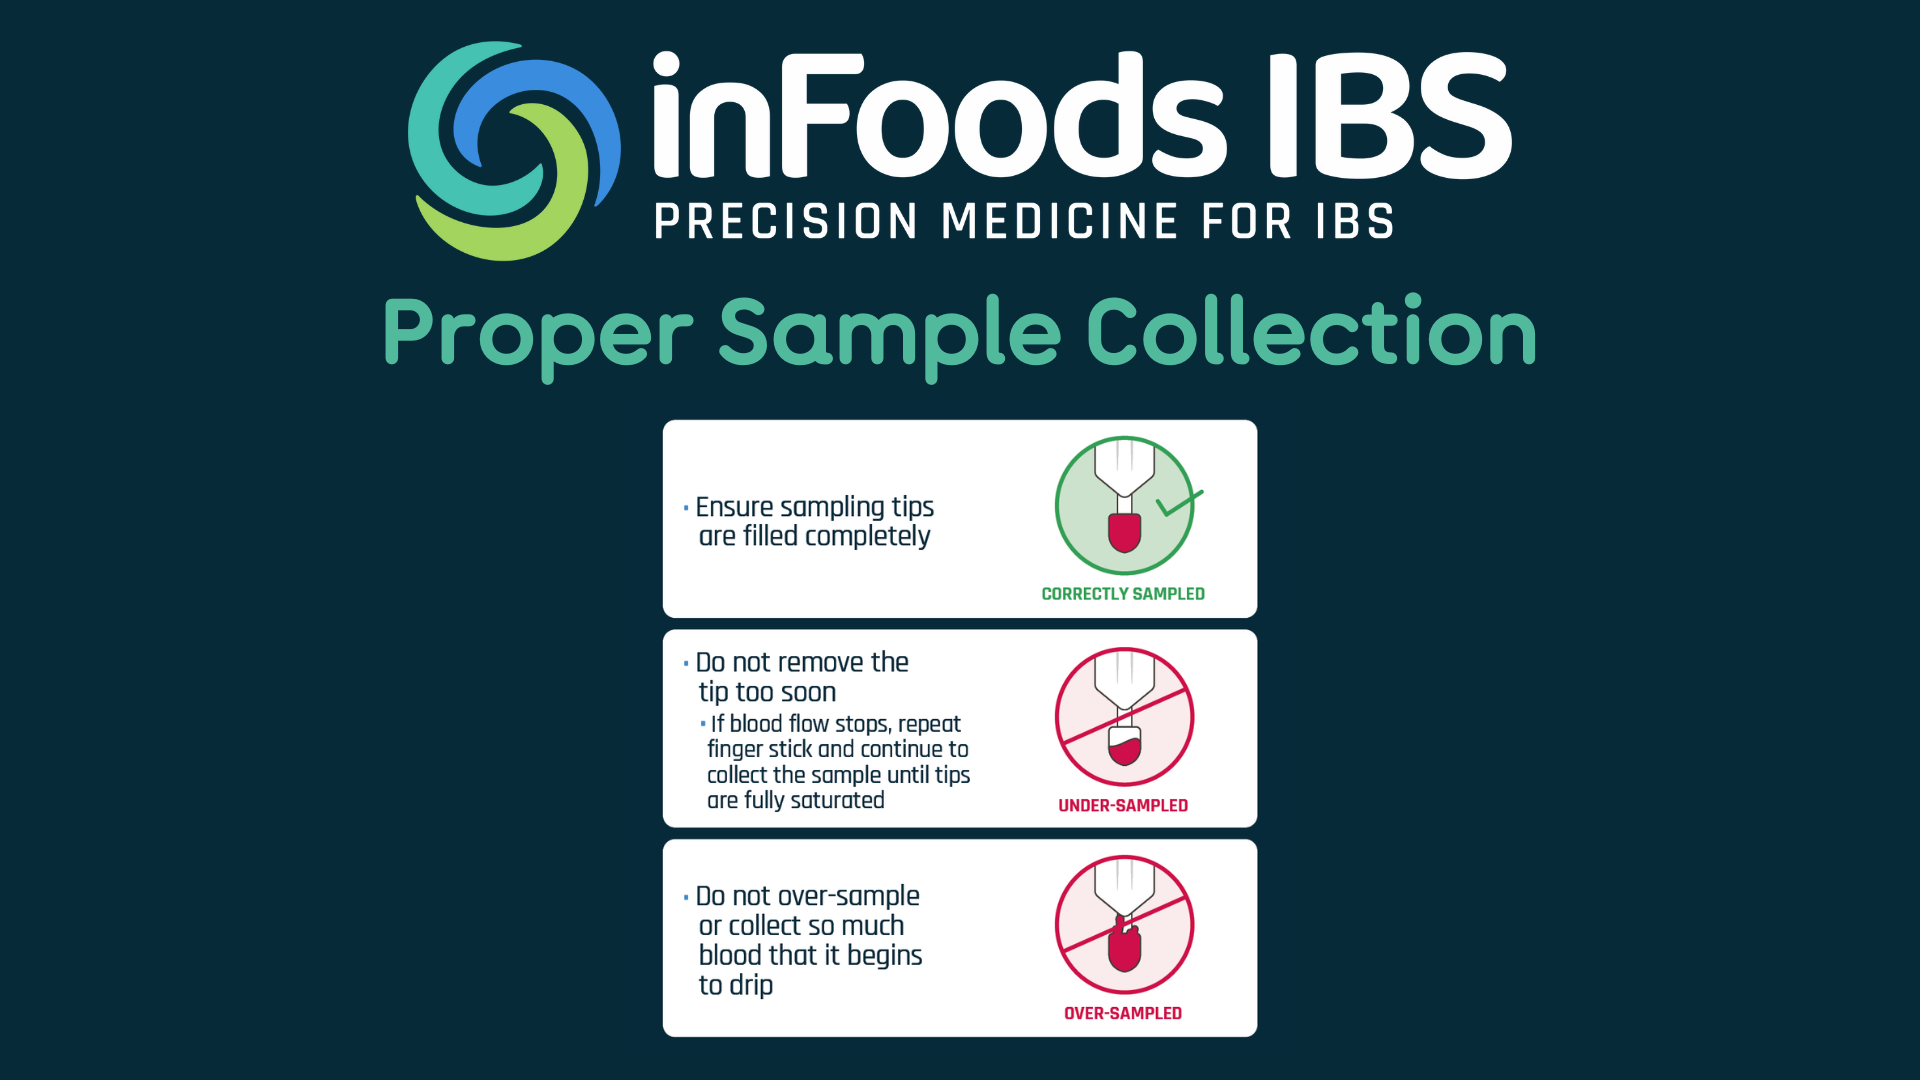
Download PDF InstructionsYour sample will be automatically rejected if the tips are not filled correctly. Please ensure all sampling tips are filled completely with NO WHITE visible.

Save the box! You'll need it to return your sample. The test requisition is shipped with the box—keep it inside as it's required to process your sample.
Write your Last Name, First Name, Date of Birth, and Collection Date on the sample label.
Remove the sample label from the plastic coating and place it firmly on the purple cartridge (NOT on the barcode or silver specimen bag).
Wash your hands with warm, soapy water. Rub them together to warm them up.
Choose which finger you'll use. Recommended: off-center of the finger midline. Use the alcohol pad to disinfect your fingertip. Let it air dry.
Twist off and discard the lancet cap. DO NOT PULL.
Lay your hand flat on a hard surface. Position the lancet on your chosen finger. Apply firm and even pressure downward until you hear a "CLICK." The lancet will permanently retract into the device body.
Use the gauze to wipe away the first blood drop. A new drop may take up to 20 seconds to form. If needed, gently massage your pricked finger upward until a drop forms.
Touch one of the 4 sampling tips to the blood drop (NOT your finger). Watch the tip turn fully red. Count 2 seconds. Slowly remove the tip from the blood. Repeat with all 4 sampling tips.
Place the cartridge on a hard surface and apply the bandage to your finger.
Lift the sides of the cartridge to meet at the top. Press together until you hear a "CLICK."
Insert the cartridge into the silver specimen bag and seal the zip-top shut. Ensure the orange DRICARD desiccant is still in the bag.
Enclose the lancet in the plastic pouch that contained it, seal it, and throw it in the trash. Do NOT dispose of the lancet in a recycling bin.
To ensure proper results, mail your sample within 3 days of blood collection
A. Place sealed silver specimen bag and test requisition back into the box
B. Close and re-seal the box using the adhesive tape already on the front flap
C. Place the return shipping label in the outlined space on the bottom of the box
D. Drop off at any USPS mailbox or post office
inFoods® IBS is an immunoassay-based Laboratory Developed Test (LDT) designed for the determination of food-specific IgG antibodies in serum that may cause or trigger symptoms in IBS patients. This test has not been cleared or approved by the FDA.
This website has been reviewed by Biomerica, Inc., and should not be used as medical advice.
All rights reserved.